Want to bring a bit of magic into your life? Making your own Harry Potter wand is a fun and easy project. You can create a unique magical tool that looks just like the ones from the books and movies. With some basic materials and a little creativity, you can craft a wand that's perfect for spellcasting or cosplay.
DIY Harry Potter wands are great for fans of all ages. You can make them for yourself, as gifts, or for a themed party. There are many ways to make a Harry Potter wand. Some use wooden dowels or sticks as a base. Others use paper rolled tightly and shaped with glue. You can add details like handles, carvings, and paint to make your wand special.
The best part of making your own wand is adding personal touches. You can choose colors and designs that match your favorite characters or house. Or you can come up with a totally new look. Let your imagination run wild as you create your magical wand.
Key Takeaways
- You can make a wand from simple items like sticks, paper, or dowels
- Personalize your wand with paint, carvings, and unique designs
- DIY wands are great for cosplay, gifts, or mystical projects
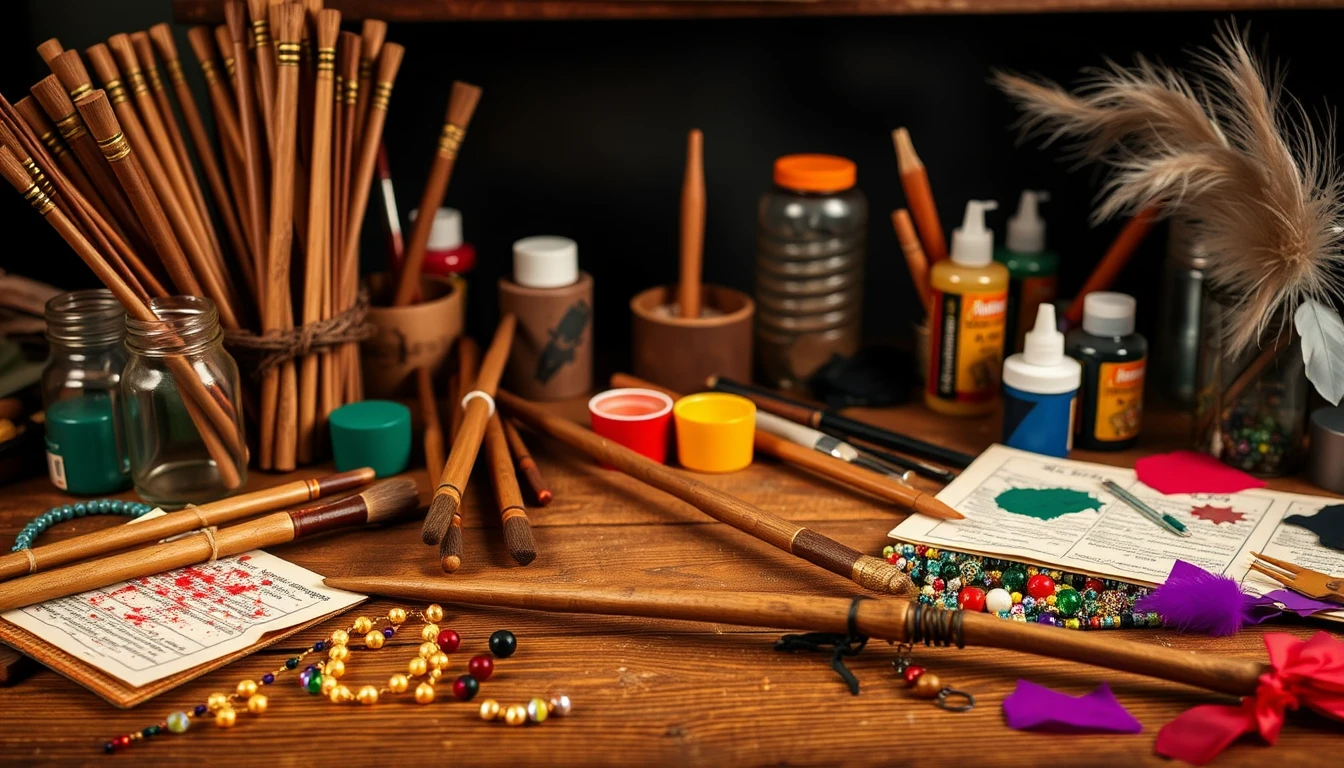
Materials and Preparation
To make your own Harry Potter wand, you'll need the right supplies and setup. Let's go over what you'll need and how to get ready for your magical crafting session.
Selecting Your Core Materials
Wooden dowels are the best base for your wand. Choose a dowel about 10-14 inches long and 3/8 inch thick. You can find these at craft stores or hardware shops.
For a unique touch, pick a core material. In Harry Potter lore, wands have magical cores. You can use:
- Feathers
- String
- Thin wire
- Beads
These will be hidden inside your wand, so choose something thin that fits in the dowel.
You'll also need wood glue to seal your core inside the dowel. Make sure it's strong enough to hold everything together.
Gathering Decoration Supplies
To make your wand look magical, you'll need:
- Acrylic paint in brown shades
- Metallic paint for accents
- Paintbrushes in various sizes
- Sandpaper (medium and fine grit)
- A hot glue gun and glue sticks
For texture, collect items like:
- Beads
- Thin rope or twine
- Small charms
These will help you create unique patterns and grips on your wand.
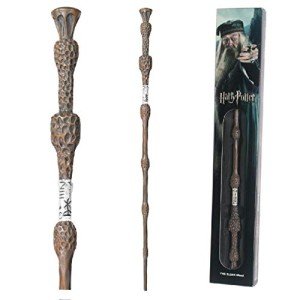
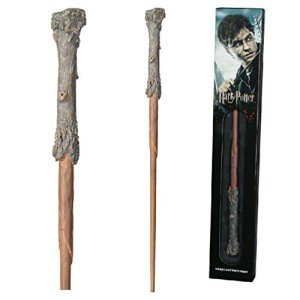
Dumbledore Wand in Windowed Box - Harry Potter
Bring a piece of magic into your home with this beautifully designed Dumbledore wand, perfect for collectors and fans alike
Product information
$43.39
Product Review Score
4.72 out of 5 stars
222 reviewsProduct links
Preparing the Workspace
Set up a clean, flat surface for your Harry Potter craft. Cover it with newspaper or a disposable tablecloth to protect from paint and glue.
Gather your tools:
- Scissors
- Craft knife (adult supervision needed)
- Pencil for marking
- Small containers for paint
Make sure you have good lighting and ventilation, especially if using spray paint. Wear old clothes or an apron to protect your outfit.
Keep paper towels or rags handy for clean-up. Fill a cup with water for rinsing brushes between colors.
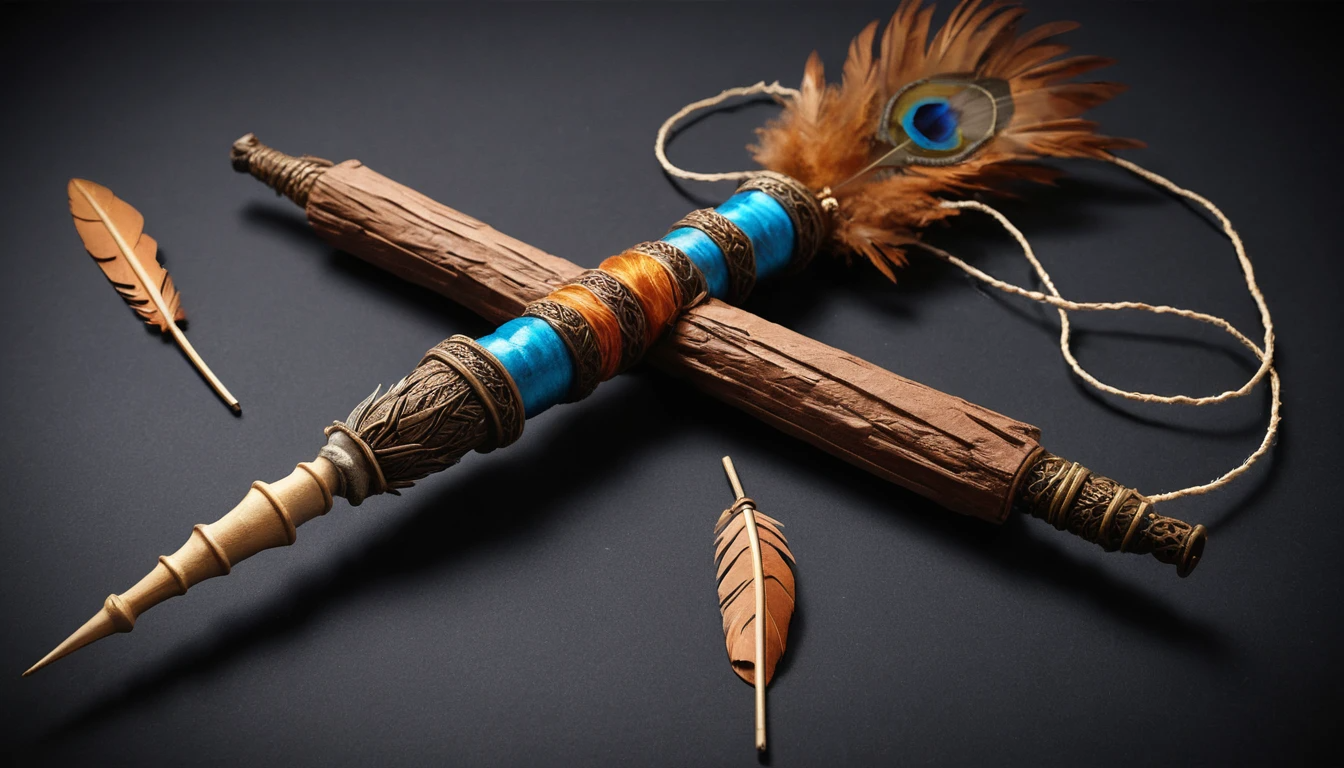
Creating the Wand Core
Making a wand core is a key step in crafting your own magical Harry Potter-inspired wand. This process involves shaping the wand, adding a magical element, and reinforcing the structure.
Shaping the Wand
Start with a wooden dowel about 10-13 inches long. Sand one end to round it off. This will be the tip of your wand.
For the handle, apply 3-4 layers of hot glue to the other end. Let each layer dry before adding the next. This creates a textured grip.
You can carve designs into the wood using a craft knife. Be careful and work slowly. Add swirls, lines, or patterns to make your wand unique.
Adding the Magical Core
In Harry Potter lore, wands contain magical cores. You can add your own "core" to your DIY wand.
Popular core materials include:
- Phoenix feather (a small feather)
- Dragon heartstring (a piece of string)
- Unicorn hair (a strand of white hair)
Make a small hole in the handle end of your wand. Carefully insert your chosen core material. Seal the hole with hot glue or wood filler.
Reinforcing the Structure
To make your wand sturdy, wrap it with electrical tape. Start at the handle and work your way to the tip. This adds strength and a smooth surface.
Apply a thin layer of wood glue over the tape. This seals everything and gives a nice finish. Let it dry completely.
Paint your wand using acrylic paints. Brown, black, or metallic colors work well. Add details with a fine brush. You can even add a light-up feature for extra magic.
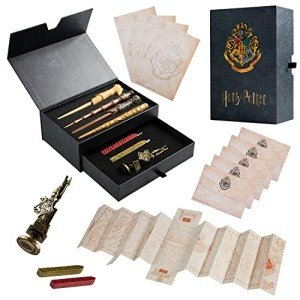
Harry Potter Wand Pen Set with Keepsake Box
Bring a touch of magic to your writing with this enchanting wand pen set and keepsake box
Product information
$29.39 $26.99
Product Review Score
4.35 out of 5 stars
84 reviewsProduct links
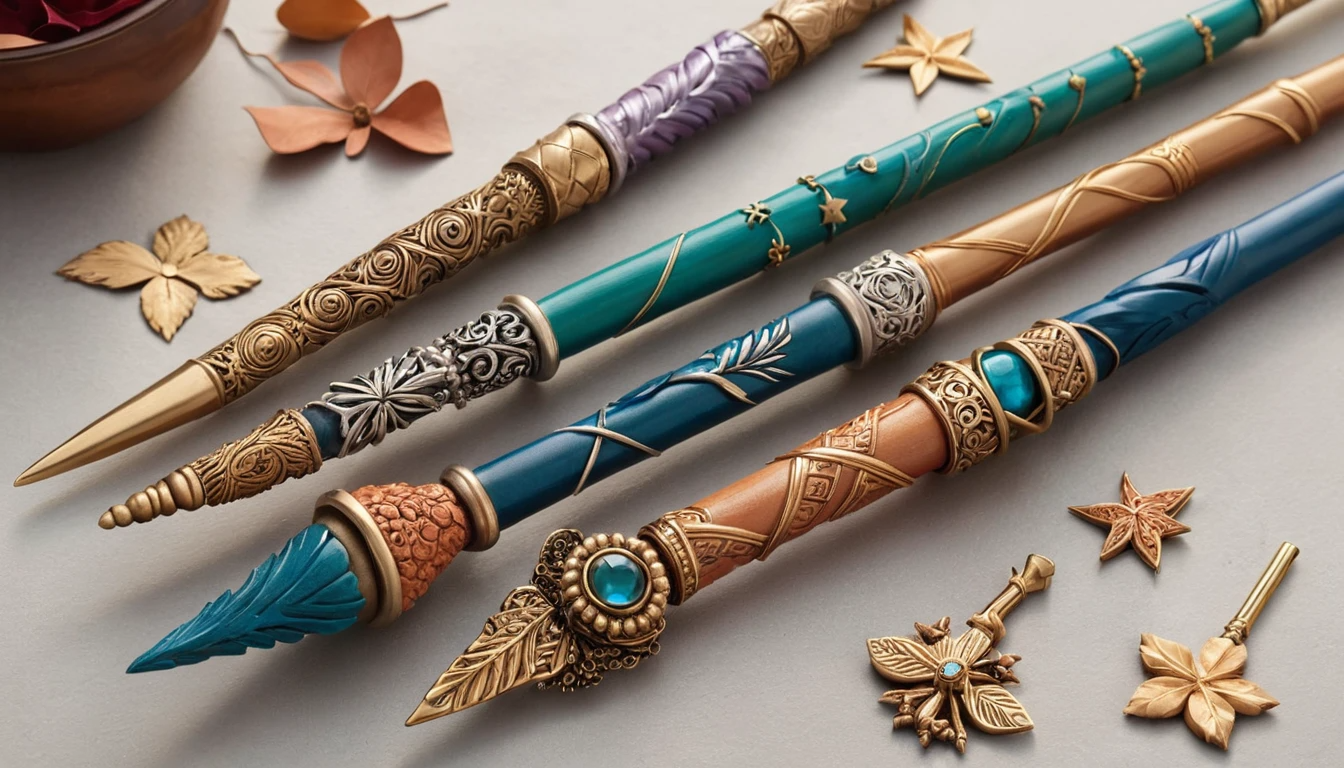
Decorating and Personalizing Your Wand
Making your wand unique is an exciting part of the DIY process. You can add special touches to make it truly yours.
Applying the Base Coat
Start with a base coat to set the tone for your wand. Choose a color that speaks to you. Brown, black, or grey work well for a classic look.
Apply thin layers of paint with a small brush. Let each layer dry before adding the next. This helps create a smooth finish.
For a wood-like texture, use a dry brush technique. Lightly drag a nearly dry brush over the wand's surface. This adds depth and character.
Detailing with Paint and Accessories
Now it's time to add flair to your wand. Use metallic paint to create shimmering accents. Gold or silver can make your wand look magical.
Paint thin lines or swirls along the wand. A steady hand is key. For precise details, try using a fine-tipped brush.
Add small gems or beads for extra sparkle. Attach them with a glue gun. Be careful with hot glue to avoid burns.
Finishing Touches
Seal your work to protect the paint and add shine. A clear coat will do the trick. Apply it evenly for a professional look.
Consider adding a grip to your wand. Wrap thin leather or ribbon around the handle. This makes it comfy to hold and adds style.
Use your imagination to make the wand truly yours. Add symbols or patterns that mean something to you. This personal touch makes your wand special.
Remember, there's no wrong way to decorate your wand. Let your creativity guide you. Your unique design will make your magic wand one-of-a-kind.
Using and Caring for Your DIY Wand
Your new DIY Harry Potter wand is ready for magical adventures! To use it, hold it firmly and practice swish and flick motions like in the books.
Try out some simple spells from the Wizarding World. Start with "Lumos" to light up the tip or "Wingardium Leviosa" to make objects float.
Keep your wand clean by gently wiping it with a soft, dry cloth. Avoid getting it wet, as this may damage the paint or glue.
Store your wand in a safe place when not in use. A special box or display stand can protect it from dust and accidental damage.
Handle your wand with care, especially if you've added delicate decorations. The glue may not hold long-term for some attachments.
If parts of your wand come loose, reattach them using a strong adhesive. For stubborn pieces, try a stronger glue designed for crafts.
Your DIY wand is perfect for costume parties, Harry Potter movie marathons, or visits to the Wizarding World theme parks. Remember, a wand is a wizard's most important tool, so treat it with respect!